F# in Mac OS.
Introduction to F# in Mac OS
In short we will be setting up in the below order.
- Install .NET Core.
- Install VS Code.
- Install Ionide.
Installing .NET Core
Download and install .NET Core SDK from .NET Core for Mac.
Installing VS Code
Download Visual Studio Code for Mac and Install.
Installing Ionide
Ionide is a plugin to support F# language features for VS Code. Open VS Code, press Cmd+P and enter the command ext install Ionide-fsharp to install the Ionide package.
Or search ionide in VS Code extensions and install from there.
Hello World
- Create a solution to have multiple projects.
1 | dotnet new sln --name Everything |
If we did not specify the --name it will take the folder name as the solution name.
2. Create F# console project and add it to the solution.
1 | dotnet new console -lang f# -o hwFSharpApp |
In above command -o hwFSharpApp sets an output directory of hwFSharpApp and creates hwFSharpApp.fsproj. console -lang F# will create a console app in F# language.
1 | dotnet sln add hwFSharpApp/hwFSharpApp.fsproj |
This will add project hwFSharpApp/hwFSharpApp.fsproj to the solution.
3. Build and run.
The below command will build the solution with all the projects.
1 | dotnet build Everything.sln |
To run the console application use the below command with dotnet run which specifies the projects to run.
1 | dotnet run --project hwFSharpApp/hwFSharpApp.fsproj |

4. Use VS Code to edit.
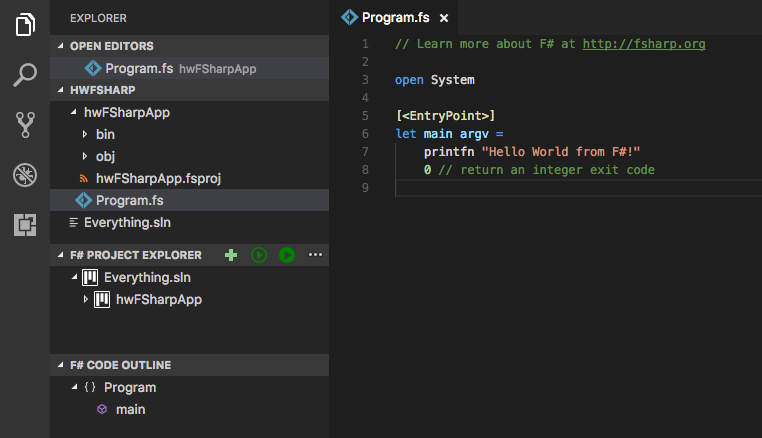
Using VS Code open the folder with solution(Everything.sln) we created. We can use the F# Project Explorer to Build Run and Debug the F# Projects by setting it as startup project.
Use --help to explore more options in .NET CLI.